
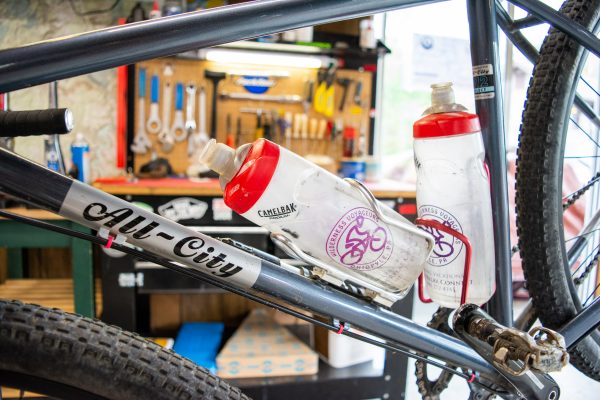
How to Get Your Bike Ready for Spring
Whether you’ve been riding your bike all winter (good for you!) or still need to get your bike out of the garage, it’s important to get your bike ready for spring riding! After you’ve signed up for an awesome cycling vacation, you’ll want to train on an equally awesome bike! An annual check-up at your local bike shop is always a good idea, but here are some quick and easy things you can do at home to get ready to hit the road this spring.
Step 1: Clean your bike
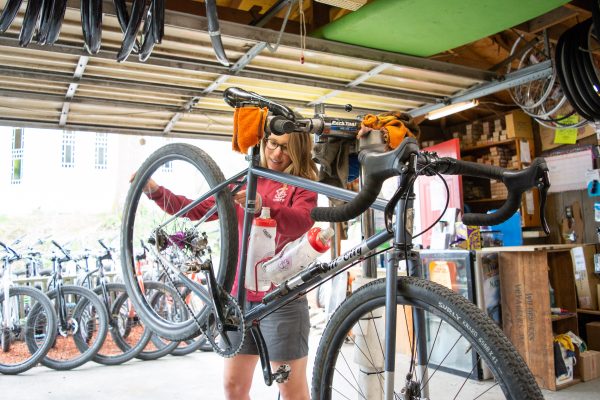 A clean bike is a happy bike! Not only does a clean bike look better, its parts will perform well together, wear out slower and save you money on replacements. Some soapy water, a couple of rags and an old toothbrush will do the job. Here’s an important tip: use low water pressure, and never soak your bottom bracket or hubs! Those parts need to stay greasy so they don’t rust and seize up.
Step 2: Check wheels and tires
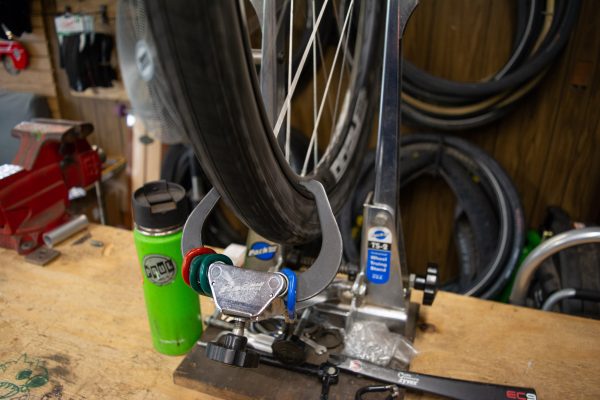 Inflate your tires till they feel hard to the touch, or to the recommended pressure on the tire. For a safe ride the wheels should spin freely and straight – no wobbling. You’ll definitely need a replacement if the wheel is missing some of its spokes or the tire is visibly damaged, cracked or worn down. When in doubt, take it to the local bike shop.
Step 3: Check your brakes
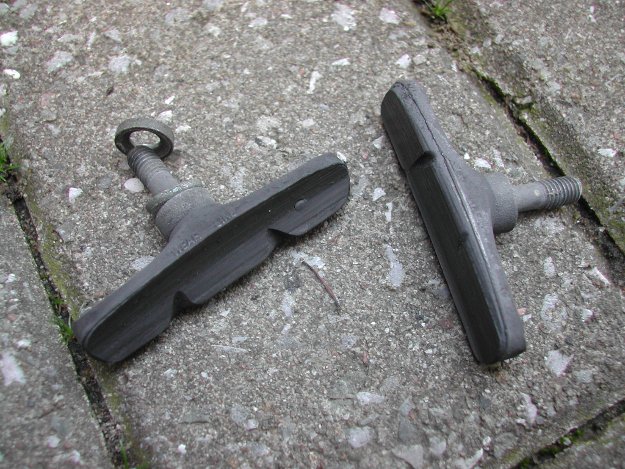 Rim brakes: Rim brakes shouldn’t graze the wheels when you’re not pulling on the brake levers. When you pull on the brakes, they should make full contact with the rim of your wheel. If the rubber on your brakes is worn down, it’s time for new brake pads. If you can easily squeeze your brake levers down to your handlebar and they don’t snap back with force, they need to be tightened.
Disc brakes: (Disc brakes are more complex than rim brakes, and notoriously hard to adjust. if you think there’s something seriously wrong, take your bike to your local bike shop.)
Disc brakes have pads that wear down over time due to normal use. Look to see if your brake pads are glazed or significantly worn. You can check the pads by removing the wheel and looking into the space where the rotor spins. If the pads are glazed, remove them from the calipers and lightly scuff them on a piece of sandpaper laid on a flat surface. If the pads are less than 3mm thick, including their metal holder, they need to be replaced.
Squealing disc brakes are often caused by pad contamination. Disc brake pads can be ruined by even the tiniest amount of oil, including the oil from your skin. If you accidentally touch the pads, clean them with rubbing alcohol. Then rough the pads lightly with sandpaper.
Step 4: Lubricate your chain
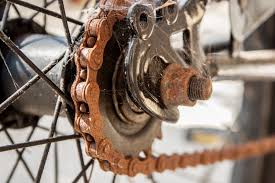 If your chain is loose or rusty, head to the bike shop for a replacement. A worn-out chain will make pedaling harder and wear out the other parts of your drive chain. If the chain is just dirty or squeaks, clean the dirt off with a rag and lightly lubricate the chain with some chain lube for a good-as-new smooth ride.
Step 5: Test your shifting
 Turn your bike upside down or lift the rear wheel to manually shift through your gears while turning the pedal with your other hand. Watch for any signs of wear or damage on the chainrings and rear wheel cassette. If your bike is skipping gears, is slow to shift up or down, our won’t shift at all, take it into your local shop.
Now you’re free to start training for your bike tour! Every Wilderness Voyageurs tour comes with a suggested training plan that’ll get you in tip top shape for your vacation. Try it out and let us know how it goes!